OpenAI In The GeekyBot!
OpenAI
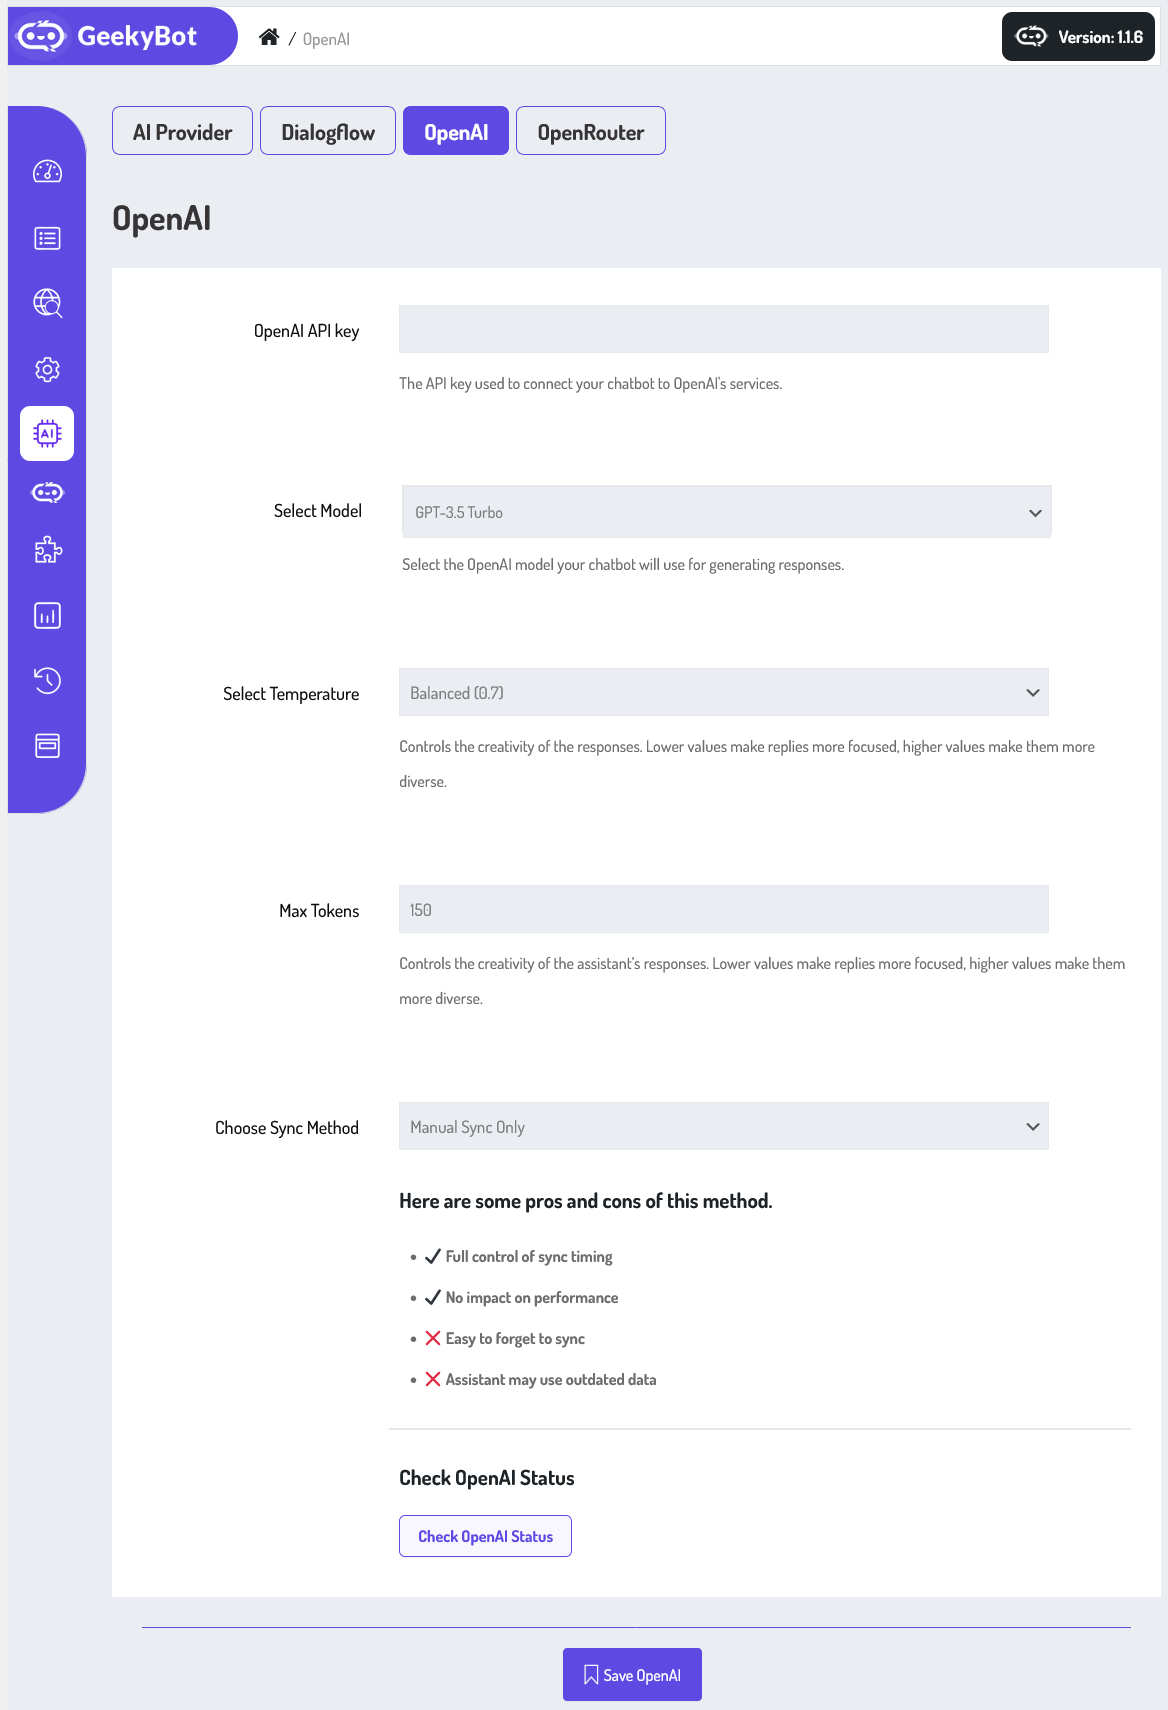
From your admin dashboard, navigate to the Admin Dashboard –> Dashboard Menu –> AI Settings –> OpenAI. On the OpenAI page, you will find various options for the admin to manage OpenAI settings.
OpenAI API key

The API key is used to connect your chatbot to OpenAI’s services.
Select Model
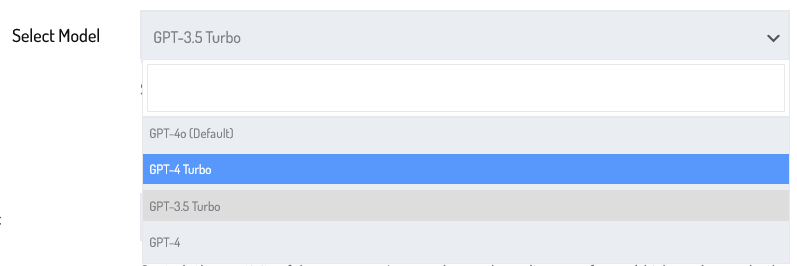
Select the OpenAI model your chatbot will use for generating responses. For instance, selecting GPT-3.5 Turbo ensures fast and cost-effective responses suitable for most customer support or conversational assistants. In the future, you may also be able to switch to more advanced models like GPT-4 or GPT-4 Turbo, depending on your access level and API limits.
Select Temperature

The Temperature setting controls creativity: lower values, like 0.2, make the responses more focused and deterministic, ideal for task-specific bots, while higher values, like 0.9, generate more varied and creative answers. For example, if you want your chatbot to sound friendly and humorous, a higher temperature would help.
Max Tokens

The Max Tokens setting controls the length of responses; if you’re building a bot for short answers (like definitions or summaries), set it to a lower number, like 100.
Choose Sync Method
Another important feature is the Sync Method, which lets you control how your chatbot updates its knowledge base or configurations. In this setup, the Manual Sync Only, Auto Sync on Post Save (Recommended), and Sync Via Scheduled Cron Job (hourly) options are available.
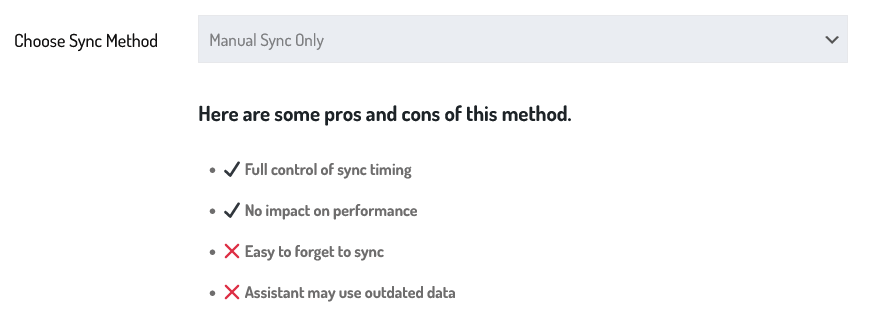
Manual Sync Only
This gives you full control over when to refresh the bot’s settings or content, which helps in development phases. However, it’s important to note the trade-offs manual sync requires human intervention, so there’s a risk of outdated data being used if you forget to sync.
Auto Sync on Post Save (Recommended)
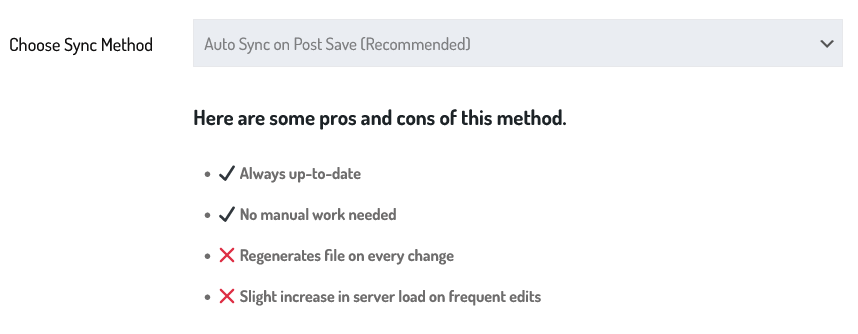
The “Auto Sync on Post Save (Recommended)” option in GeekyBot’s OpenAI provider settings offers a more streamlined and automated experience for keeping your chatbot’s data up to date. When enabled, this setting ensures that every time you update and save your bot’s content, like posts, those changes are automatically synchronized with OpenAI.
Sync Via Scheduled Cron Job (hourly)
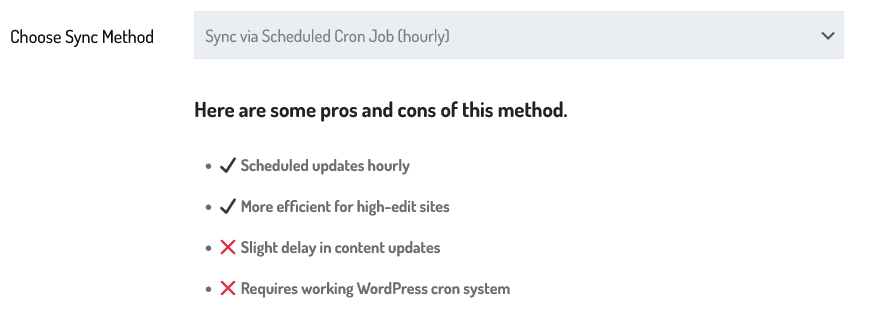
The “Sync via Scheduled Cron Job (hourly)” option in GeekyBot’s OpenAI provider settings allows your chatbot to automatically synchronize updates with OpenAI once every hour, using a background cron job. This method is a middle ground between manual syncing and real-time syncing, giving you automation without overwhelming the system with frequent updates.
Check OpenAI Status
Finally, you can use the Check OpenAI Status button to ensure that your connection to OpenAI is active and operational. This helps in diagnosing issues quickly if your bot suddenly stops responding.
OpenAI Assistant Settings (Addon Base)
Additionally, there are some settings marked as “add-on base”. To use these settings must install and activate the “OpenAI Assistant” addon.
Install and Activate The Add-on
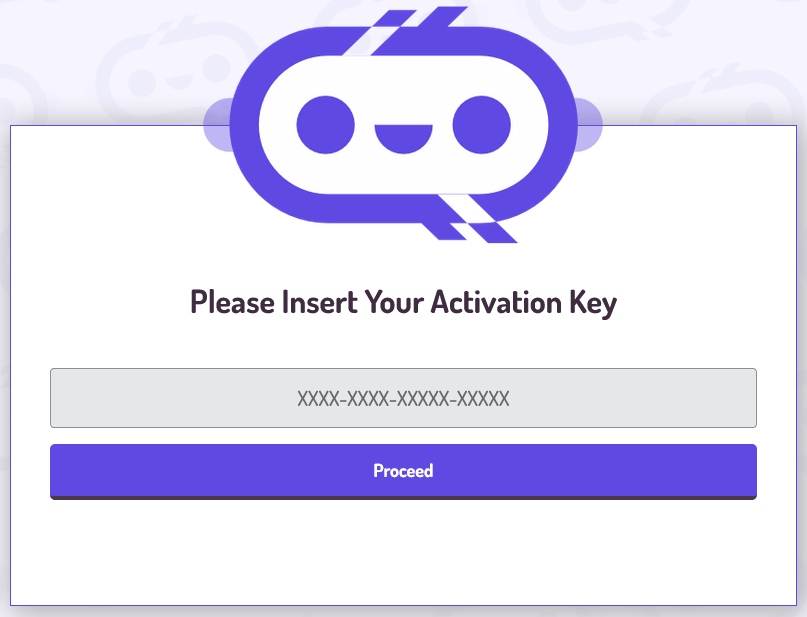
To install and activate the addon, access the addon page, navigate to the Admin Dashboard –> Dashboard Menu –> Install Add-ons. On the install add-ons page, please insert your activation key and click on the proceed button.

Now select the “Open AI Assistant” addon from the add-ons listing page and click on the install add-on button.
After installing and activating the “Open AI Assistant” addon, you will be able to use these settings
OpenAI Assistant

The OpenAI Assistant integration in GeekyBot allows users to seamlessly leverage the power of AI within their WordPress websites. This assistant is built using the official OpenAI PHP Client Library, which enables secure and smooth communication between your site and OpenAI’s models. To get started, you have two simple options: Auto Download or Manual Setup of the OpenAI PHP Client Library.
Auto Download
The “Auto Download” button takes care of everything with a single click. It fetches the latest library files and places them in the correct directory inside your WordPress setup, ideal for users who prefer a hassle-free installation.
Manual Setup
For those who want more control, the Manual Steps section outlines a clear three-step process. First, download the ZIP file from the provided GitHub link. Second, extract it on your computer. Finally, upload the extracted folder into the plugin directory located at: wp-content/uploads/geekybotLibraries/openAI/.
Auto Download
Click on the button for auto download of the OpenAI PHP Client Library. The “Auto Download” button takes care of everything with a single click.
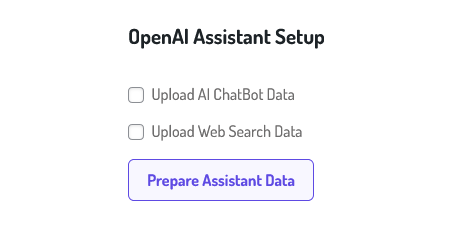
After auto-downloading the OpenAI PHP Client Library. It offers two key options: Upload AI Chatbot Data and Upload Web Search Data, both designed to enhance the assistant’s capabilities for different use cases.
By selecting “Upload AI ChatBot Data”, you’re preparing your assistant to operate as a smart, specific chatbot. So the assistant can answer customer questions more accurately and consistently from the AI chatbot story.
On the other hand, the “Upload Web Search Data” option equips your assistant with curated or indexed content from your website. This is particularly useful if you want the assistant to act like a smart site search engine. With this feature enabled, the assistant can locate and summarize the relevant content using the provided data.
Once you’ve selected one or both options, click the “Prepare Assistant Data” button. This will initiate the data processing pipeline that transforms your uploaded files into a format optimized for use with OpenAI’s models.
Once your configuration is complete, simply click Save OpenAI to activate the integration.