How To Setup GeekyBot!
This article will guide you through setting up the GeekyBot plugin, covering the installation process, initial setup, and customizing configurations to your GeekyBot for your specific needs. So we guide the GeekyBot plugin step by step to meet your needs and requirements.
Installation Process

Installing The GeekyBot Plugin
- Log in to your WordPress Dashboard.
- Navigate to the Plugins option in your dashboard menu.
- Click on the Add New button.
- In the search bar, type “GeekyBot” and press Enter.
- Locate the plugin in the list and click on Install Now.
- Once the installation is complete, click on Activate to enable the plugin.
Your GeekyBot plugin is now successfully installed and activated!
Quick Installation
Once the plugin is active, it will prompt you for some initial setup configurations.
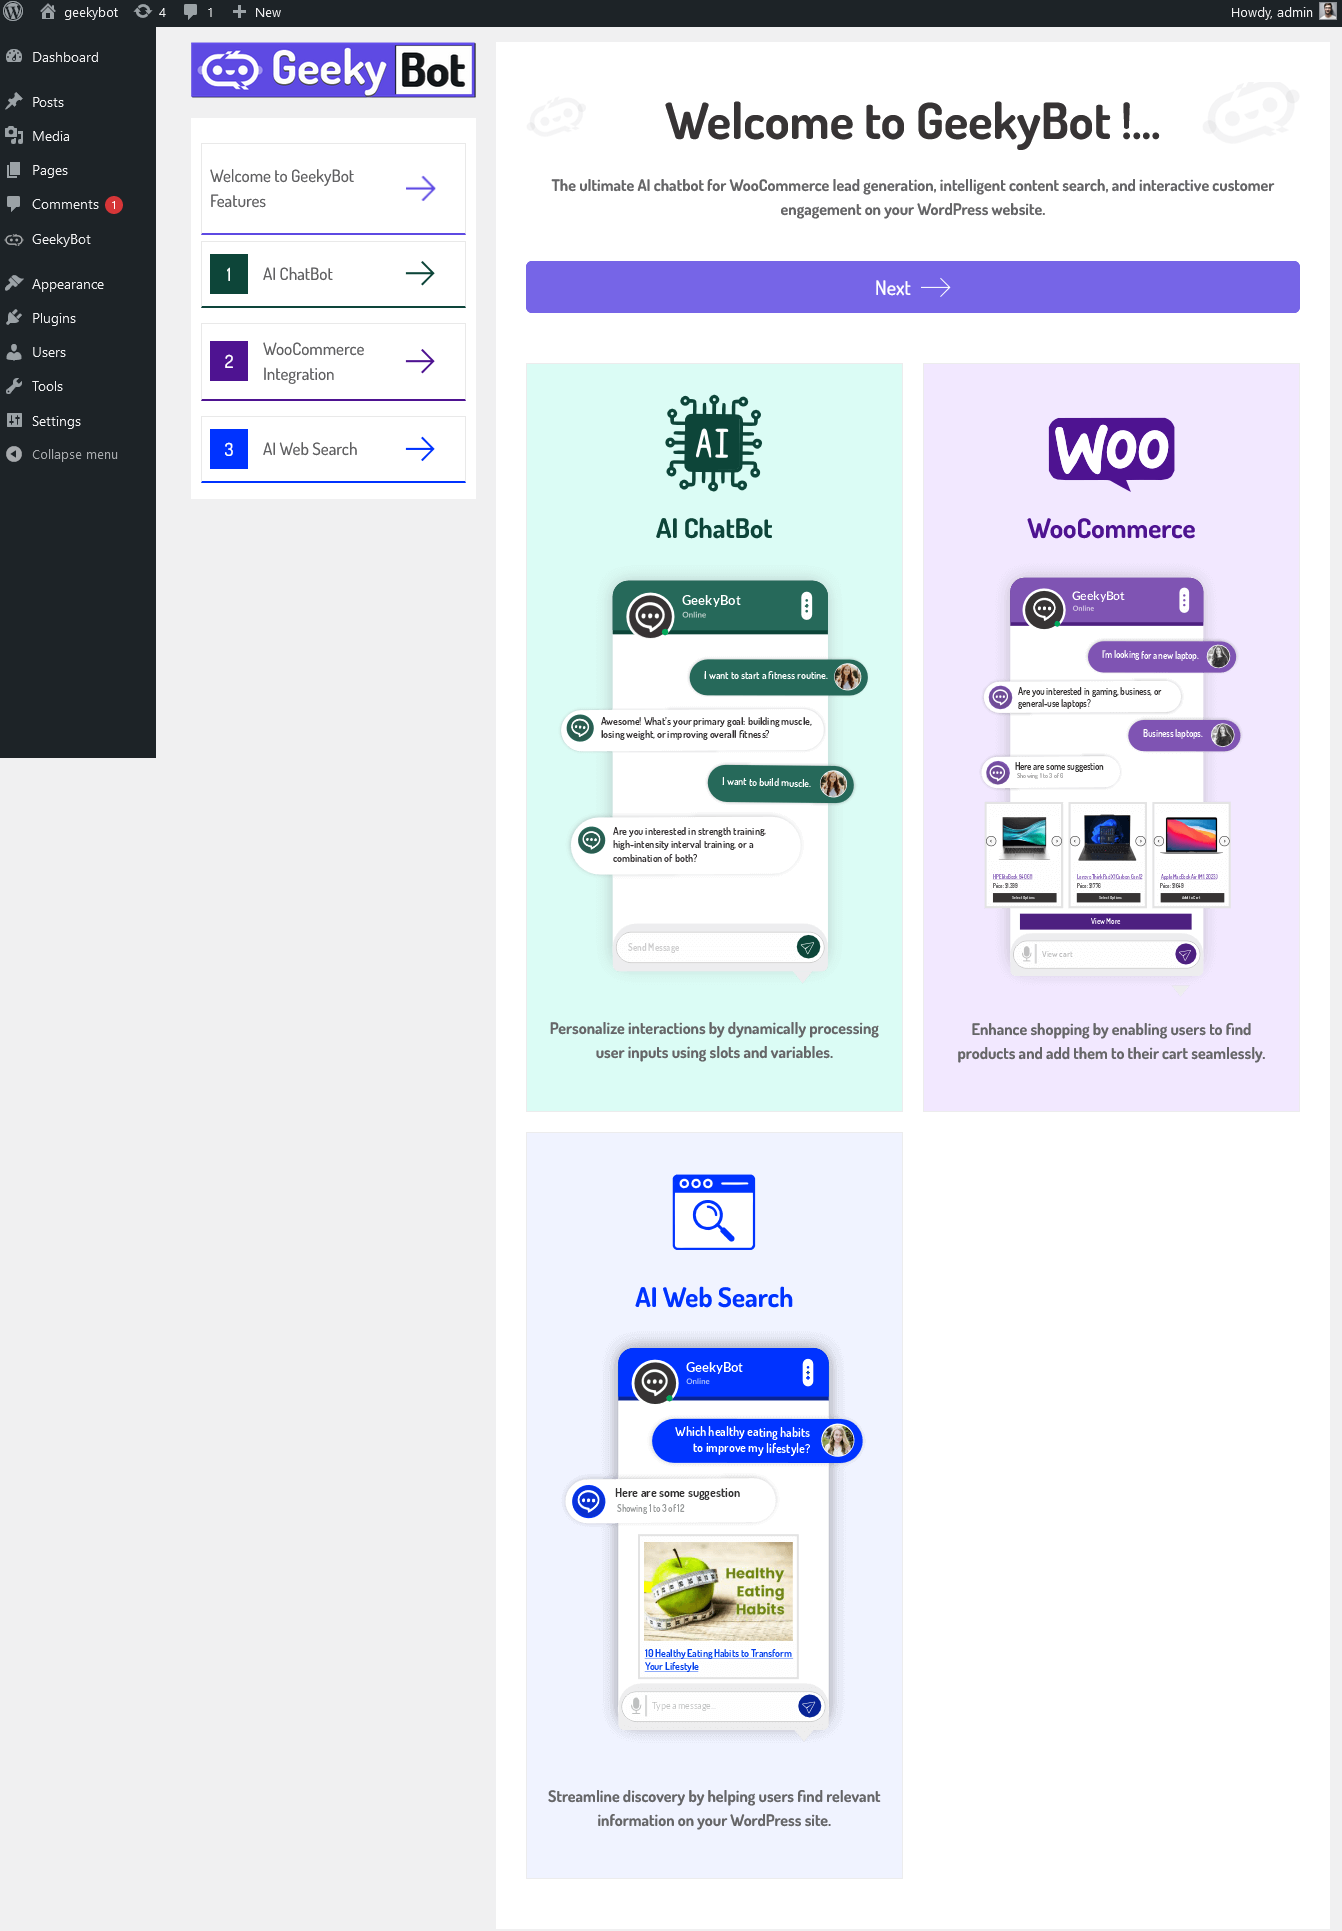
This page provides us information about the main features of Geekybot, such as AI Chat Bot, Woocommerce, and AI Web Search. The admin can use these features to manage the Geekybot. Press the ‘next’ button to proceed.
AI ChatBot
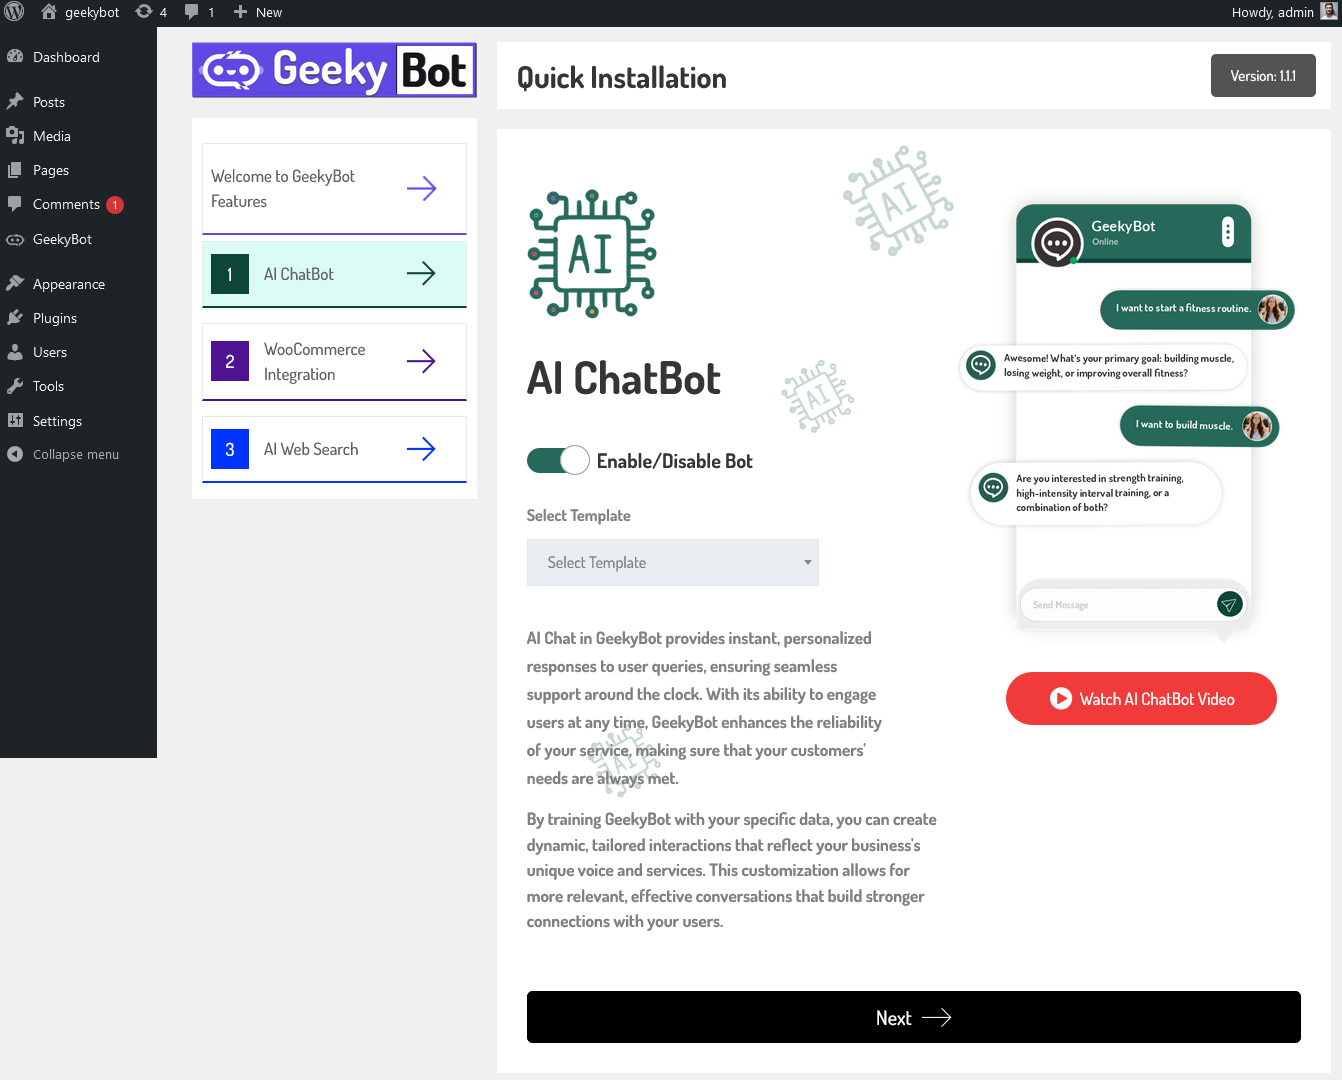
Admin can enable/disable AI ChatBot. AI ChatBot cannot be enabled without selecting a template. All available templates are listed in the drop-down. Select the template for the AI ChatBot and click on the ‘next’ button to proceed.
WooCommerce Bot
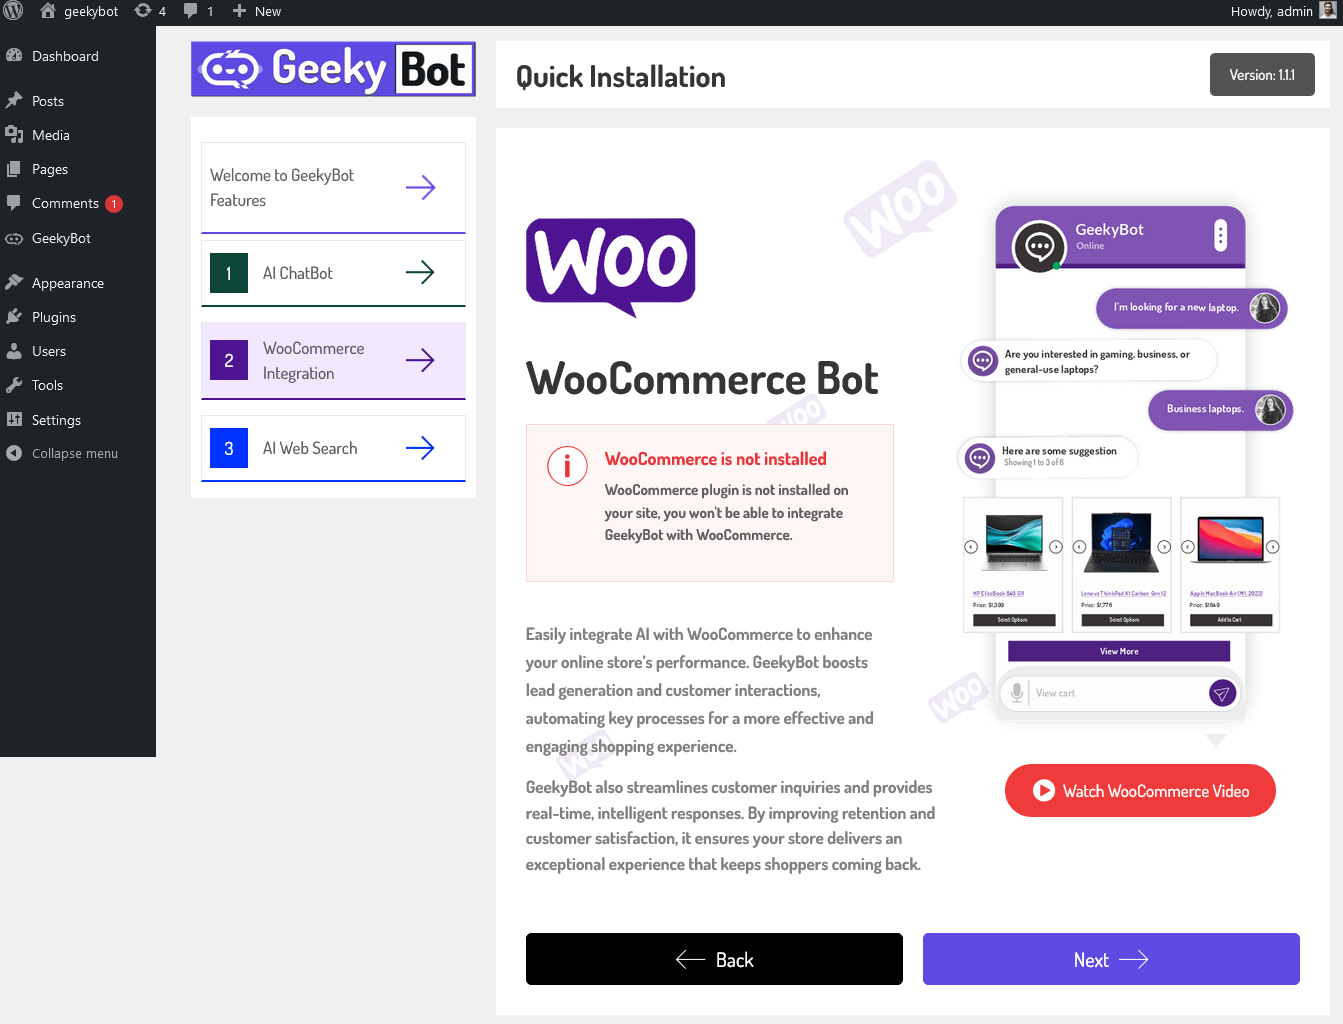
If the WooCommerce plugin is not installed on your site, you won’t be able to integrate GeekyBot with WooCommerce. You can enhance your online store’s performance with WooCommerce. Click on the ‘next’ button to proceed.
AI Web Search
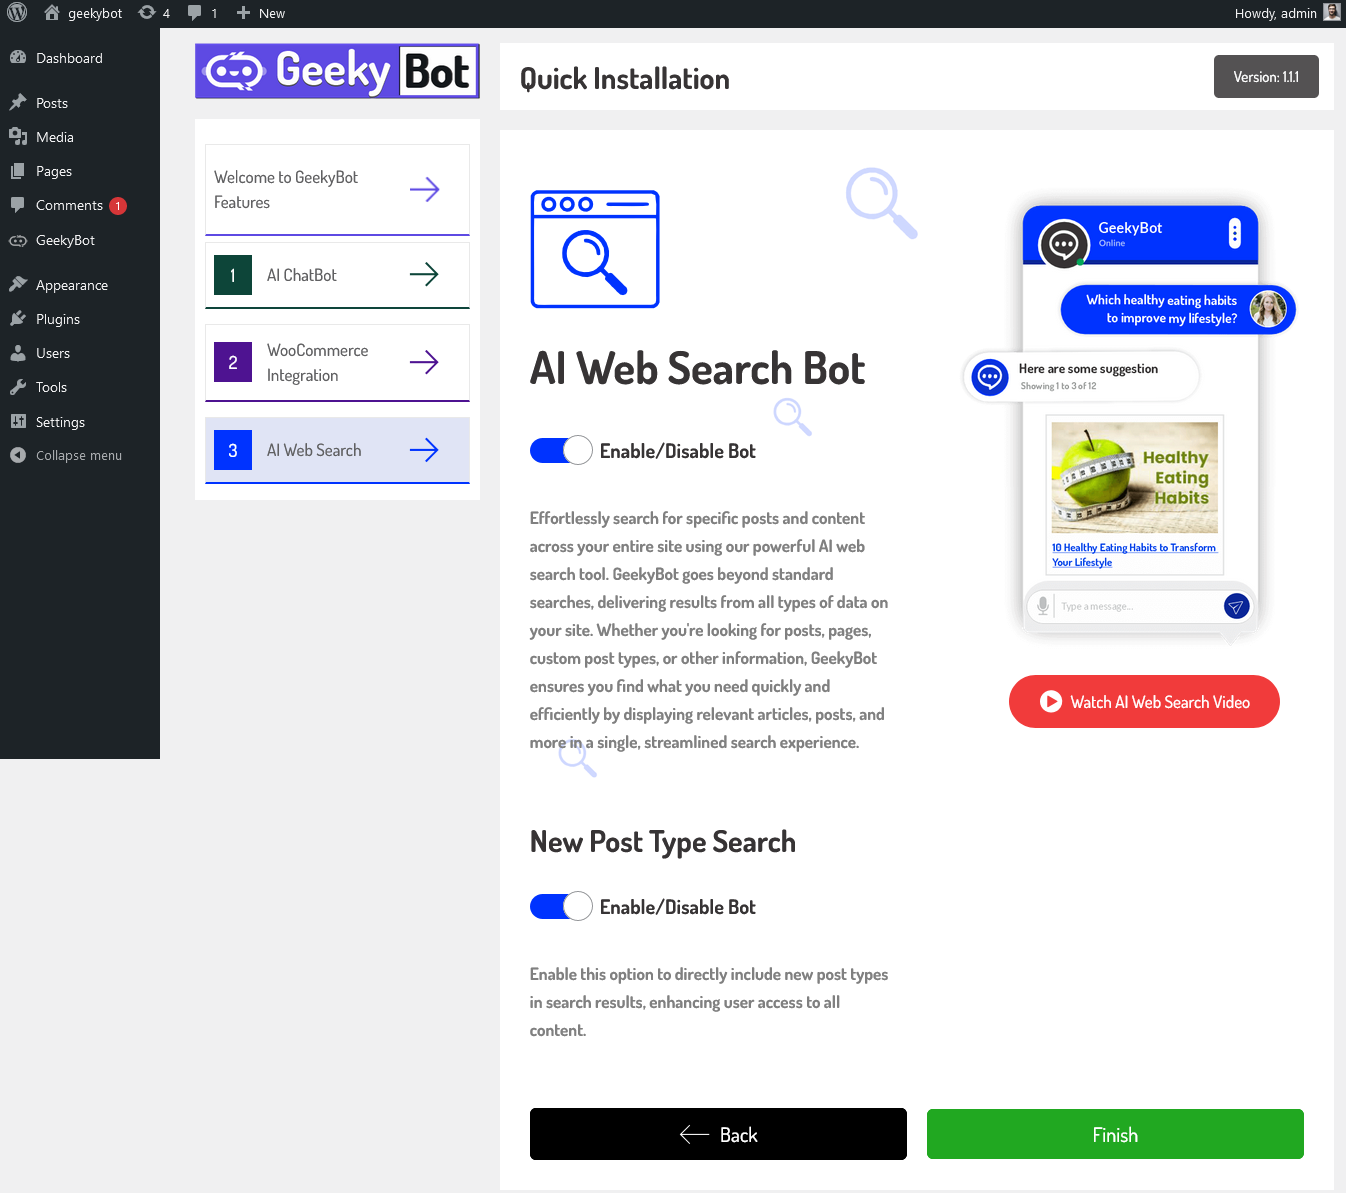
Admin can enable/disable the AI Web Search Bot. AI Web Search is used for specific posts and content across your site using our powerful AI web search tool. GeekyBot goes beyond standard searches, delivering results from all types of data on your site.
New Post Type Search
Enable this option to include new post types directly in search results, enhancing user access to all content.
GeekyBot Dashboard

Click the “Finish” button. This action will redirect you to the admin dashboard. Your GeekyBot setup is now complete.
Settings of the GeekyBot
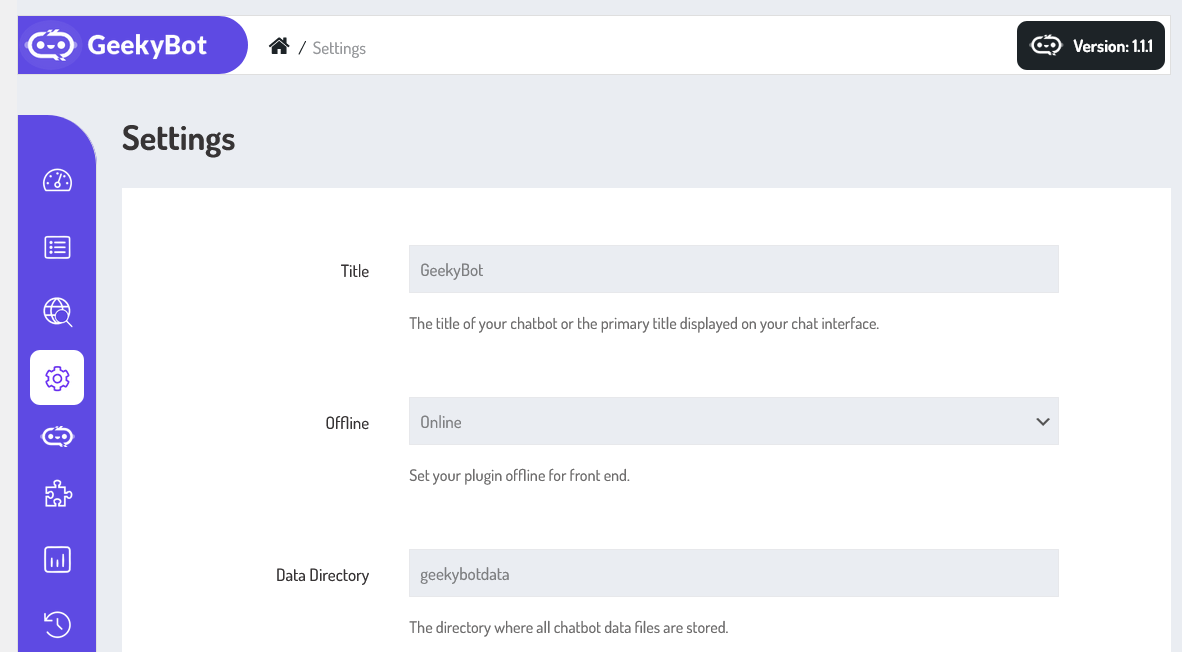
Now, let’s dive into the configurations of GeekyBot, which enable you to customize the plugin according to your specific needs and preferences. We’ll focus on the settings and explore how these configurations impact the front end of your site. Under the settings, you have the flexibility to change the:
- Site title and data directory at any time.
- Set your plugin offline for the front end.
- Set the admin and user pagination to display the number of items on the admin panel and user side.
- Set the default fallback message, this message will be displayed when the chatbot cannot understand.
- Support Link Hide/Show controls the visibility of the support link on the front end. If hide is selected, there will be no support link shown on the front end.