How To Add A Story In The GeekyBot!
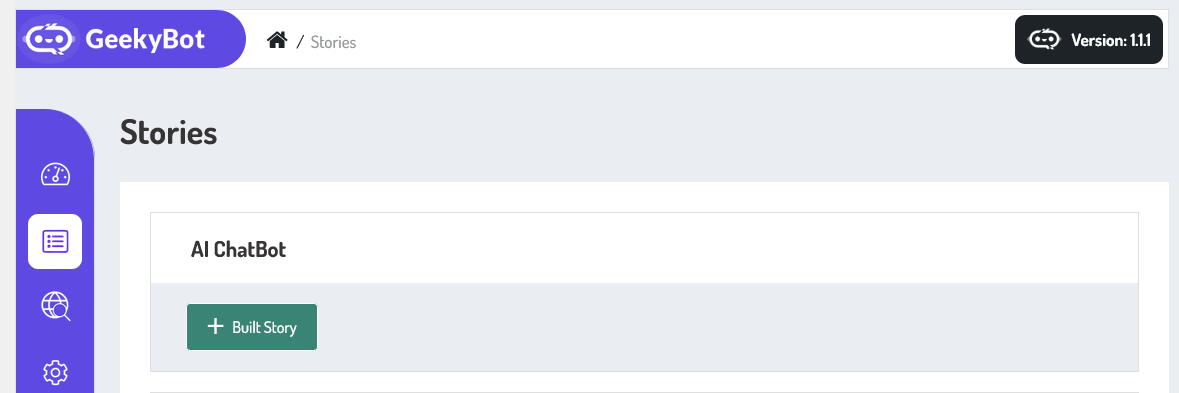
Now, let’s build a story from the admin end. From your admin dashboard, navigate to the Admin Dashboard > Dashboard Menu > Stories > Built Story.
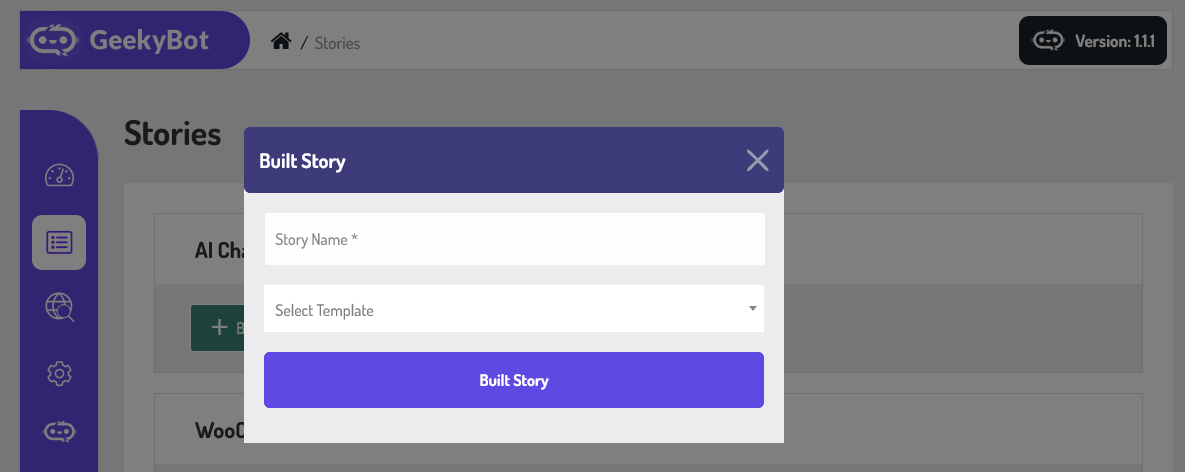
To start the process of creating a story, click on the built story button. A pop-up will appear on the screen. On the ‘Built Story’ popup, we will provide all the necessary details for built a story.
- Name: Name is a required field to enter the story name.
- Select Template: A story cannot be built without selecting a template. All available templates are listed in the drop-down templates (Empty Story, Account Assistance, Dite Plan Assistant, Job Application, Lead Generation, Real Estate, Support, and much more).
Once you have selected the template for the story, click on the Built Story button. Your story will be successfully built.
Story With Empty Template
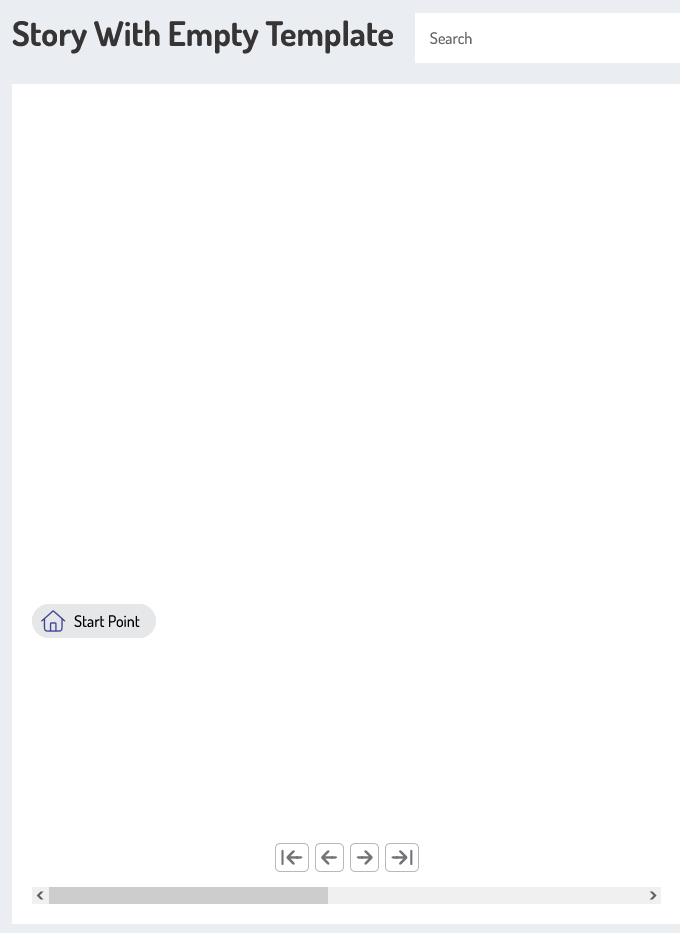
If you have built a story with an empty template, your story is not preloaded with sample data.
Story Without Empty Template
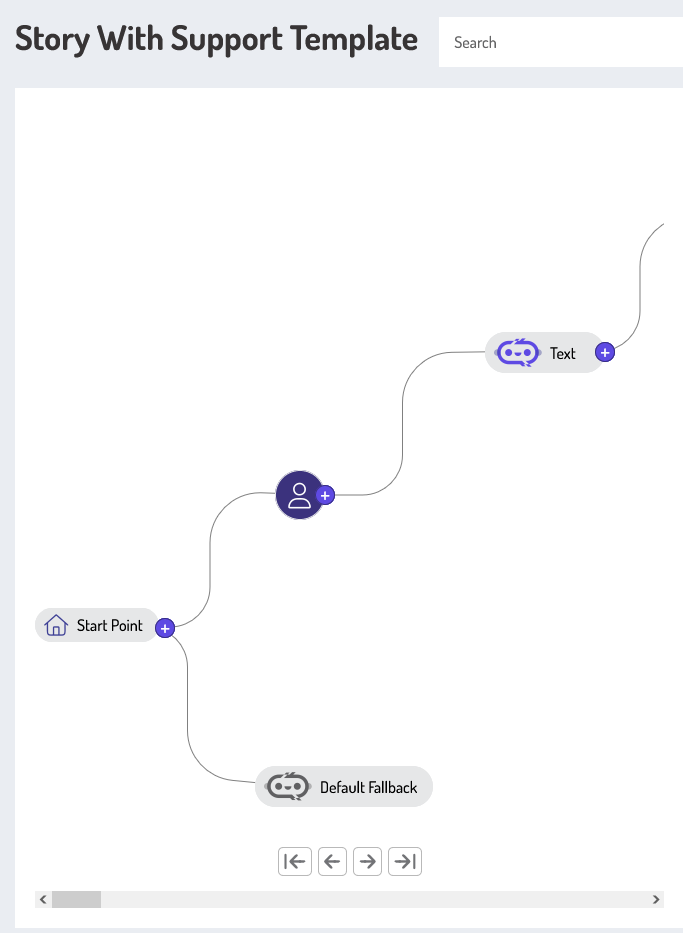
If you build a story with any template except the empty one, it comes pre-loaded with sample data, providing an overview of how the system operates!
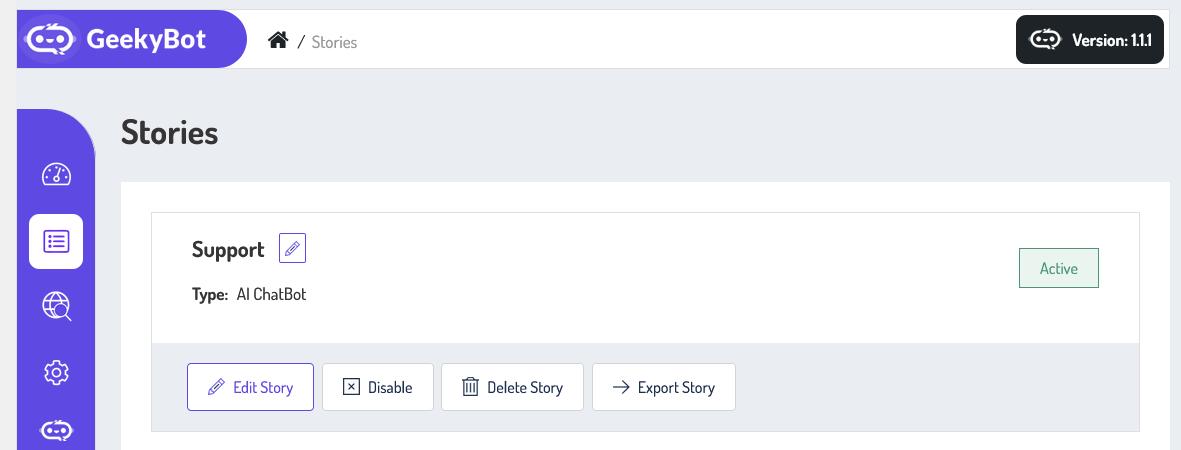
It represents an individual story, it has a story, name, type (AI ChatBot), and story status (e.g., “Status: Active”). There are options to edit, enable/disable, delete, and export the Story.
- Manage Story:
- You will find several options for managing your story:
- Edit Story: Modify the story details.
- Enable/Disable: Enable/Disable controls the activation of your story.
- Delete Story: Remove the story from your list.
- Export Story: Save your export in different formats.
- You will find several options for managing your story: